How to Fix Spray Gun Spitting (Causes, Fixes, and Prevention Guide)
Spray gun spitting usually comes from poor fluid flow, dirty parts, wrong pressure, or an uneven paint mixture. Spray gun spitting can turn a smooth finish into a rough, spotty mess in seconds.
After working with paint sprayers and troubleshooting common spray problems, I have found that the cause is often simple to fix. This guide explains why spray guns spit, how to diagnose the issue, and how to prevent it on your next project.
What Is Spray Gun Spitting?
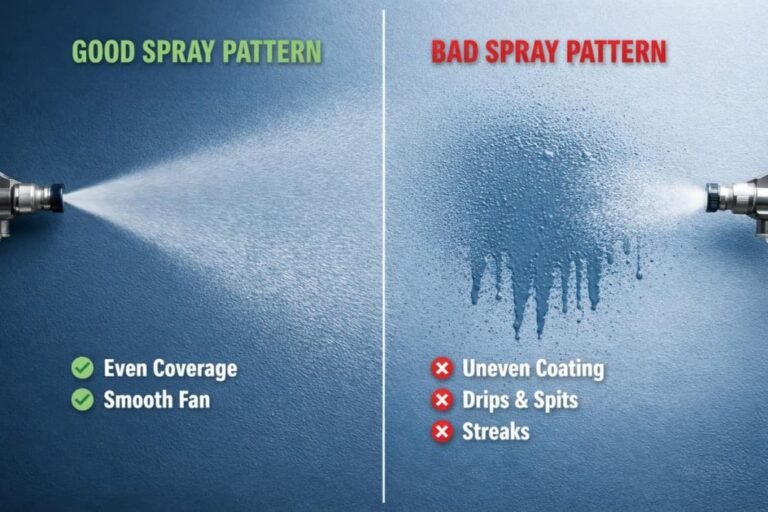
Spray gun spitting happens when a spray gun releases drops, blobs, or uneven bursts instead of a steady, fine mist. The paint may come out in short pulses, leave large dots on the surface, or mix air with fluid in an unstable way.
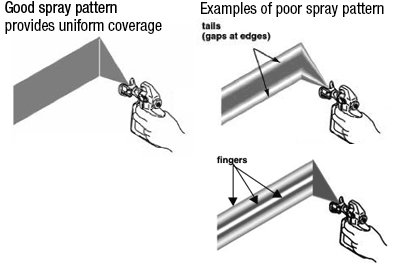
A properly working spray gun should produce a consistent fan pattern. The spray should look even from one side to the other, with no heavy spots, dry edges, or sudden drops.
Spray gun spitting can happen with:
• HVLP spray guns
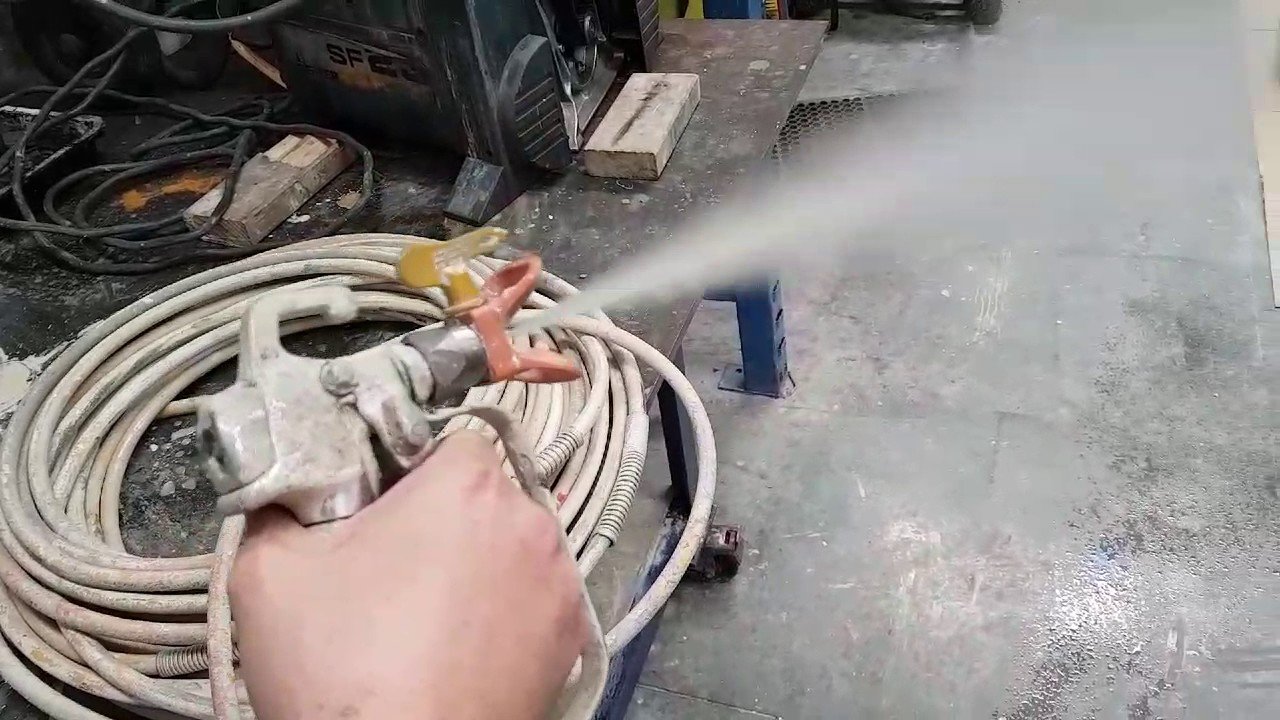
• Airless paint sprayers
• LVLP spray guns
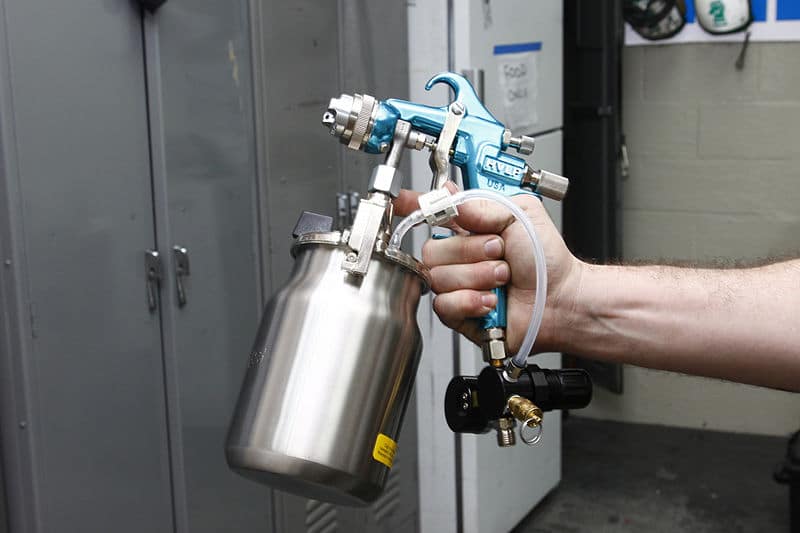
• Conventional pneumatic spray guns
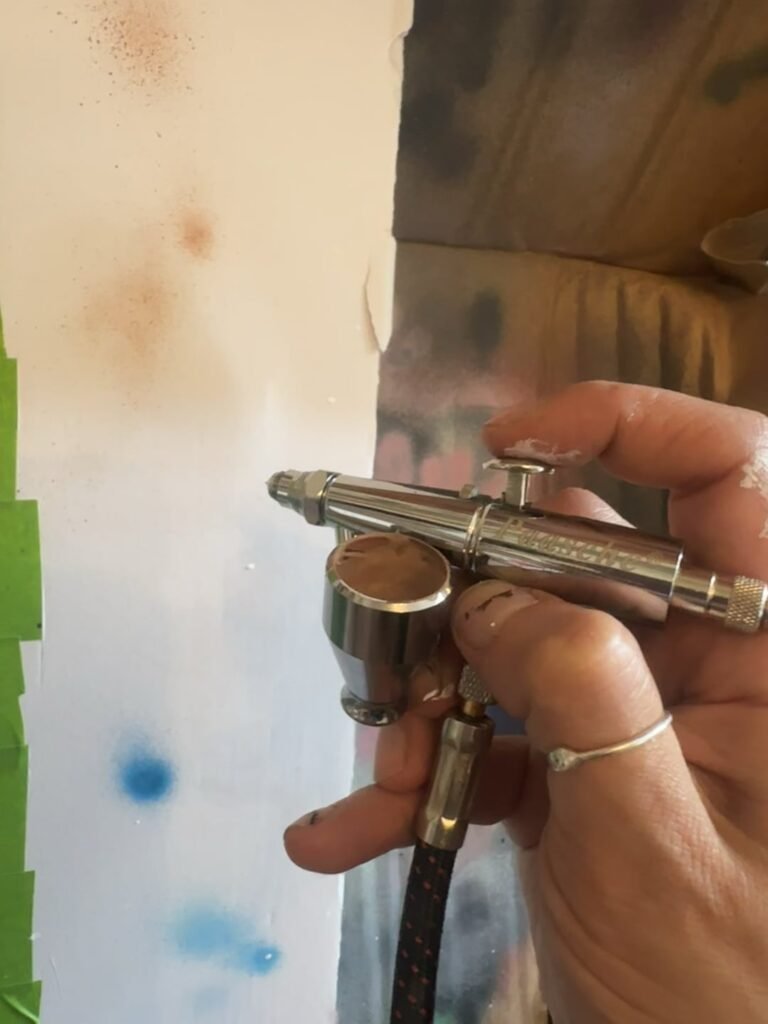
• Mini detail spray guns
• Automotive paint guns
• Paint guns used for furniture, cabinets, and home repairs
The problem is not always caused by the gun itself. Paint thickness, air pressure, temperature, hose moisture, and operator technique can all affect the spray pattern.
Spray Gun Troubleshooting: Quick Fixes for Spits, Sputters, and Uneven Sprays
Why Is My Spray Gun Spitting?
The most common reason for spray gun spitting is an unstable supply of paint or air. If the fluid cannot move smoothly through the nozzle, the gun may release paint in bursts.
Here are the main causes to check.
The Fluid Nozzle Is Dirty
Dried paint around the fluid nozzle can change the shape of the opening. Even a small amount of residue may block part of the passage and cause uneven paint flow.
A dirty nozzle can also push paint to one side of the air cap. This creates a poor fan pattern and may cause spray gun spitting during use.
The Air Cap Is Blocked
The air cap controls how air shapes the paint stream. When its small holes become blocked, air pressure becomes uneven.
This may cause:
• A crooked spray pattern
• Heavy paint on one side
• Large drops
• A weak or pulsing spray
• Spray gun spitting at the start of each pass
The Paint Is Too Thick
Thick paint does not flow well through a spray gun. The gun may struggle to pull the fluid from the cup, which can lead to bursts and large droplets.
Always check the paint manufacturer’s thinning instructions. Do not add thinner by guesswork. Too much thinner can cause runs, poor coverage, weak color, or slow drying.
The Paint Is Too Cold
Cold paint becomes thicker. A cold workshop can make a spray gun behave as if the paint needs more thinner, even when the mixture is correct.
Let the paint reach room temperature before spraying. Avoid heating paint with an open flame or unsafe heat source.
The Fluid Needle Is Bent or damaged
the needle works with the fluid nozzle to control paint flow. If the needle is bent, worn, or damaged, it may not seal correctly.
This can cause fluid to leak, pulse, or spray unevenly. A damaged needle often requires replacement rather than adjustment.
The Paint Cup Is Not Sealed
A loose cup lid or damaged gasket can allow air to enter the fluid system. This changes the pressure inside the cup and may cause spray gun spitting.
On a gravity-feed gun, check the cup lid and seal. On a siphon-feed gun, inspect the pickup tube and cup connection.
The Air Hose Contains Water
Compressed air can collect moisture inside the hose and compressor tank. If that water reaches the spray gun, it may mix with the paint and interrupt the spray.
Water in the air line can create:
• Spitting
• Blotchy paint
• Fish eyes
• Cloudy finishes
• Poor adhesion
Drain the compressor tank often. Use a moisture trap and place it near the spray gun when possible.
How to Diagnose Spray Gun Spitting
A careful diagnosis saves time. Instead of changing several settings at once, test one part at a time.
Step 1: Stop Spraying
Release the trigger and place the gun in a safe position. If you are spraying solvent-based coatings, keep the area ventilated and remove ignition sources.
Do not point the gun at your hand or body to test the spray. Paint and solvents can enter the skin and cause serious injury.
Step 2: Check the Material
Stir the paint well. Look for lumps, skin, sediment, or partially dried material.
If the product requires filtering, pour it through a clean paint filter before filling the cup. A small piece of dried paint can act like a pebble in a narrow stream.
Step 3: Inspect the Cup and Tube
Check that the cup is full enough for the gun to pick up fluid. A nearly empty cup can allow air into the system.
For a siphon-feed gun, inspect the pickup tube. Make sure it is tight, clean, and not cracked.
Step 4: Inspect the Air Cap and Nozzle
Remove the air cap and look for dried paint. Never use a hard metal object to dig into small holes.
Use the cleaning tools recommended by the manufacturer. A soft brush and the correct cleaning fluid are safer choices.
Step 5: Check Air Pressure
Read the pressure at the gun, not only at the compressor. Long hoses, small fittings, and restrictive filters can reduce pressure before air reaches the gun.
Low pressure may produce large drops. Excessive pressure can create overspray, dry spray, and an unstable pattern.
Step 6: Test the Spray Pattern
Spray onto clean cardboard or scrap material. Hold the gun at a steady distance and pull the trigger fully.
A good pattern should be even and balanced. Heavy spots at the top or bottom may point to blocked air-cap holes. A central blob may suggest a fluid or pressure problem.
How to Fix Devilbiss Spray Gun Sputtering (Troubleshooting Guide)
How to Fix a Spitting Spray Gun
Once you identify the likely cause, use a simple repair process. Most spray gun spitting problems can be corrected without replacing the entire gun.
Clean the Spray Gun Thoroughly
Follow the cleaning steps in the gun manual. In general:
- Empty unused paint into a suitable container.
- Flush the gun with the correct cleaner.
- Remove the air cap and fluid nozzle if the manual allows it.
- Clean the needle, nozzle, cup, and air cap.
- Wipe the gun body and trigger area.
- Reassemble the parts carefully.
- Test the gun with clean material or approved test fluid.
Do not soak seals or plastic parts in a harsh solvent unless the manufacturer approves it. Some solvents can swell seals or damage the gun.
Tighten Loose Connections
Check the fluid nozzle, air cap, cup lid, hose fittings, and pickup tube. Loose parts can allow air to enter the system.
Tighten parts firmly by hand or with the recommended tool. Over-tightening can damage threads and make future repairs harder.
Strain and Adjust the Paint
Filter the paint before it enters the cup. Then adjust the viscosity according to the coating instructions.
A viscosity cup can help you compare the paint with the product’s recommended flow time. This is more reliable than judging thickness by eye.
Adjust Air and Fluid Settings
Start with the manufacturer’s recommended settings. Then make small changes.
If the gun spits, avoid opening the fluid control all the way. Too much fluid can overwhelm the available air and create heavy droplets.
A useful adjustment order is:
• Set the fan control
• Set the air pressure
• Open the fluid control slowly
• Test on cardboard
• Adjust only one setting at a time
Replace Worn Parts
Replace the nozzle and needle as a matched set when the manufacturer recommends it. Using a worn needle with a new nozzle may still cause poor sealing.
Also inspect:
• Cup gaskets
• O-rings
• Fluid tubes
• Air valves
• Trigger seals
• Hose fittings
Small seals often cause large problems.

How to Prevent Spray Gun Spitting
Prevention is easier than repair. A short cleaning routine after each job can protect both the spray gun and the finish.
Clean the Gun After Every Use
Do not leave paint inside the gun while you take a break. Many coatings begin to dry around the nozzle quickly.
Even a short delay can create a hard ring of paint. That ring may not be easy to see, but it can disturb the spray pattern later.
Use Clean, Compatible Materials
Use the correct thinner, reducer, or cleaning fluid for the coating. Mixing incompatible products may cause clumps or separation.
Keep paint containers covered when not in use. Dust and dried paint flakes can enter open cans and later cause spray gun spitting.
Manage Air Quality
Drain the compressor tank regularly. Check the moisture trap before each major job.
For professional work, a clean air system may include:
• A compressor filter
• A water separator
• A regulator
• A final filter near the gun
• A clean, suitable air hose
Keep the Gun Moving
Good technique also matters. Hold the gun about 6 to 10 inches from the surface, unless the product or gun manual gives different instructions.
Keep the gun square to the surface. Start moving before pulling the trigger, and release the trigger before stopping the movement.
This reduces heavy spots and makes minor spray problems easier to see.
Use the Correct Tip or Nozzle
A tip that is too small may struggle with thick coatings. A tip that is too large may release too much fluid.
Choose the size based on the coating. Primer, stain, lacquer, enamel, and latex paint may need different setups.
Spray Gun Spitting During Different Applications
The cause may vary with the type of job.
Spray Gun Spitting With Automotive Paint
Automotive coatings often need clean air, precise pressure, and a correct reducer. Moisture, poor filtration, or an incorrect nozzle can quickly ruin a clear coat or base coat.
Test the spray on a mixing panel or scrap surface before applying it to a vehicle. A clear coat that spits can create texture that is difficult to polish away.
Spray Gun Spitting With Latex Paint
Latex paint is often thicker than coatings made for spray use. It may need careful thinning and a larger tip.
Do not thin latex paint too much. Excess water can weaken coverage and may affect how the paint bonds to the surface.
Spray Gun Spitting With Lacquer
Lacquer can dry quickly around the nozzle. Clean the gun during breaks and use the correct lacquer thinner.
Good ventilation is essential. Many lacquer products produce strong vapors and require proper respiratory and fire safety controls.
Spray Gun Spitting With Stain
Wood stain may appear thin, but pigments can settle in the container. Stir it well and strain it before spraying.
A low fluid setting and controlled passes can help prevent dark spots on wood. Always test on a hidden area first.
Common Mistakes That Make a Spray Gun Spit
Some troubleshooting mistakes create new problems.
Increasing Pressure Too Much
Many users raise the pressure when the gun spits. This may break the paint into smaller drops for a moment, but it can increase overspray and make the finish dry before it reaches the surface.
Find the correct pressure instead of using maximum pressure.
Adding More Thinner Without Testing
More thinner is not always the answer. Over-thinned paint may run, sag, or lose hiding power.
Make a small test batch when possible. Record the ratio so you can repeat the result later.
Cleaning Only the Cup
The cup may look clean while dried paint remains in the nozzle or air cap. A partial cleaning often gives only a temporary fix.
Clean every fluid-contact part after the job.
Using a Damaged Cleaning Needle
Metal picks can scratch the nozzle. Even a tiny scratch may disturb fluid flow and cause spray gun spitting.
Use the correct cleaning tools. If the nozzle opening is damaged, replace it.
Ignoring the Compressor
A compressor that cannot deliver steady air may cause pulsing. The tank may show enough pressure while the pressure at the gun drops during spraying.
Check the compressor’s airflow rating and compare it with the spray gun’s requirements.
Safety Tips for Spray Gun Use
Spray paint can contain solvents, harmful particles, and flammable vapors. Safe setup matters as much as a smooth finish.
Follow the coating label and the spray gun manual. Use ventilation that moves contaminated air away from your breathing zone.
Important safety steps include:
• Wear suitable eye protection.
• Use respiratory protection approved for the coating.
• Wear gloves that resist the product.
• Keep sparks, flames, and cigarettes away.
• Use proper ventilation.
• Do not spray near children, pets, food, or open flames.
• Store paint and solvents in approved containers.
• Dispose of solvent-soaked rags safely.
A basic dust mask may not protect against solvent vapor. Respiratory protection must match the hazard, and some jobs require a formal respiratory protection program.

A Practical Spray Gun Spitting Checklist
Use this checklist when the gun starts to spit:
- Stop spraying and move to a safe position.
- Check the paint for lumps or settled material.
- Strain the paint if needed.
- Inspect the cup lid and fluid tube.
- Check the air hose for moisture.
- Clean the air cap and fluid nozzle.
- Confirm the correct pressure at the gun.
- Check the needle and nozzle for damage.
- Test the spray on cardboard.
- Adjust one setting at a time.
In my experience, the fastest fix is often a full clean followed by a fresh test mix. The mistake is trying five adjustments at once. When the finish improves, you may not know which change solved the problem.

Frequently Asked Questions About Spray Gun Spitting
Why does my spray gun spit at the start of a pass?
The gun may have dried paint on the nozzle, trapped air in the fluid path, or a loose cup connection. Clean the nozzle, check the seals, and begin moving the gun before pulling the trigger.
Can low air pressure cause spray gun spitting?
Yes. Low or unstable air pressure may not atomize the paint correctly, so the gun releases larger drops. Check pressure at the gun while the trigger is pulled.
Will thick paint make a spray gun spit?
Thick paint can restrict fluid flow and cause pulsing or large droplets. Use the correct nozzle size and adjust the material only according to the coating instructions.
How do I stop an HVLP spray gun from spitting?
Clean the air cap, fluid nozzle, and needle first. Then check the paint viscosity, cup seal, air pressure, and hose for moisture.
Is spray gun spitting caused by a bad compressor?
It can be. A small or weak compressor may fail to provide steady airflow, especially during long passes. Compare the compressor’s airflow output with the spray gun’s air demand.
Should I replace the spray gun if it keeps spitting?
Not always. Cleaning, replacing worn seals, or installing a new needle and nozzle may solve the issue. Replace the gun only after confirming that the material, air supply, and setup are correct.
Conclusion
Spray gun spitting usually points to a problem with paint flow, air pressure, moisture, cleanliness, or worn parts. Start with the simple checks: clean the gun, strain the paint, inspect the seals, and test the pressure at the gun.
Work slowly and change one setting at a time. With a clean spray gun, suitable material, dry air, and steady technique, you can achieve a smooth and even finish. Use this checklist on your next project, and share your own spray gun tips or questions in the comments.