The Ultimate Spray Gun Nozzle Size Setting (How to Choose the Right Tip Size)
The right spray gun nozzle size setting matches paint thickness, finish needs, spray pressure, and the job surface. A spray gun can turn a simple paint job into a smooth, professional finish—or a rough, frustrating mess.
The difference often comes down to the spray gun nozzle size setting. Choose a nozzle that is too small, and the gun may clog or struggle to atomize the material. Choose one that is too large, and you may create runs, overspray, and wasted paint.
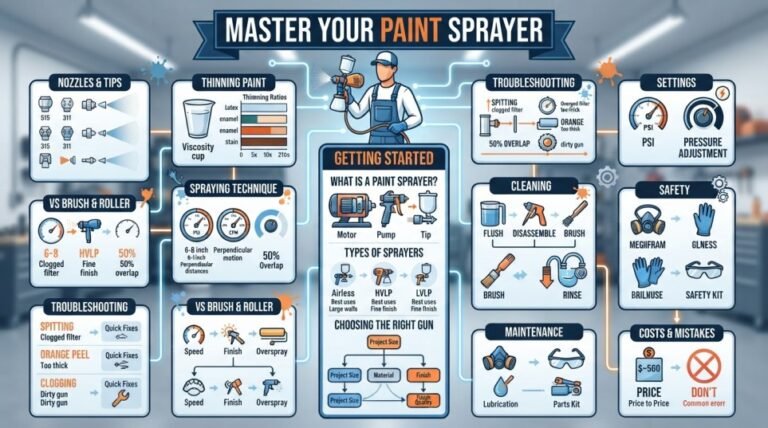
This guide explains how nozzle size works, which size fits common coatings, how to adjust your gun, and how to fix poor spray patterns. The advice applies to HVLP, LVLP, conventional, and many airless spray systems.
What Is a Spray Gun Nozzle Size Setting?
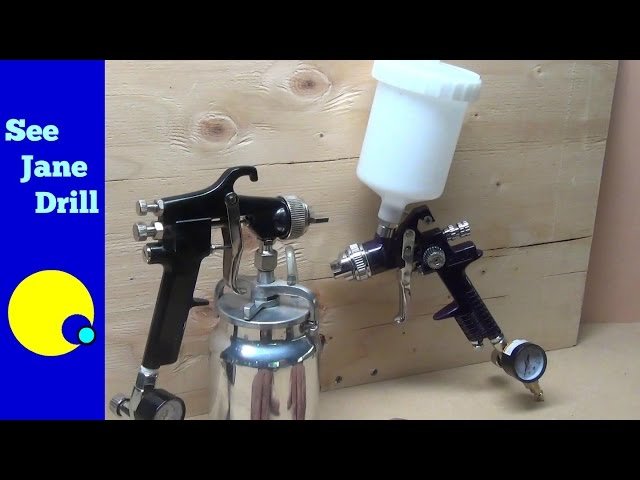
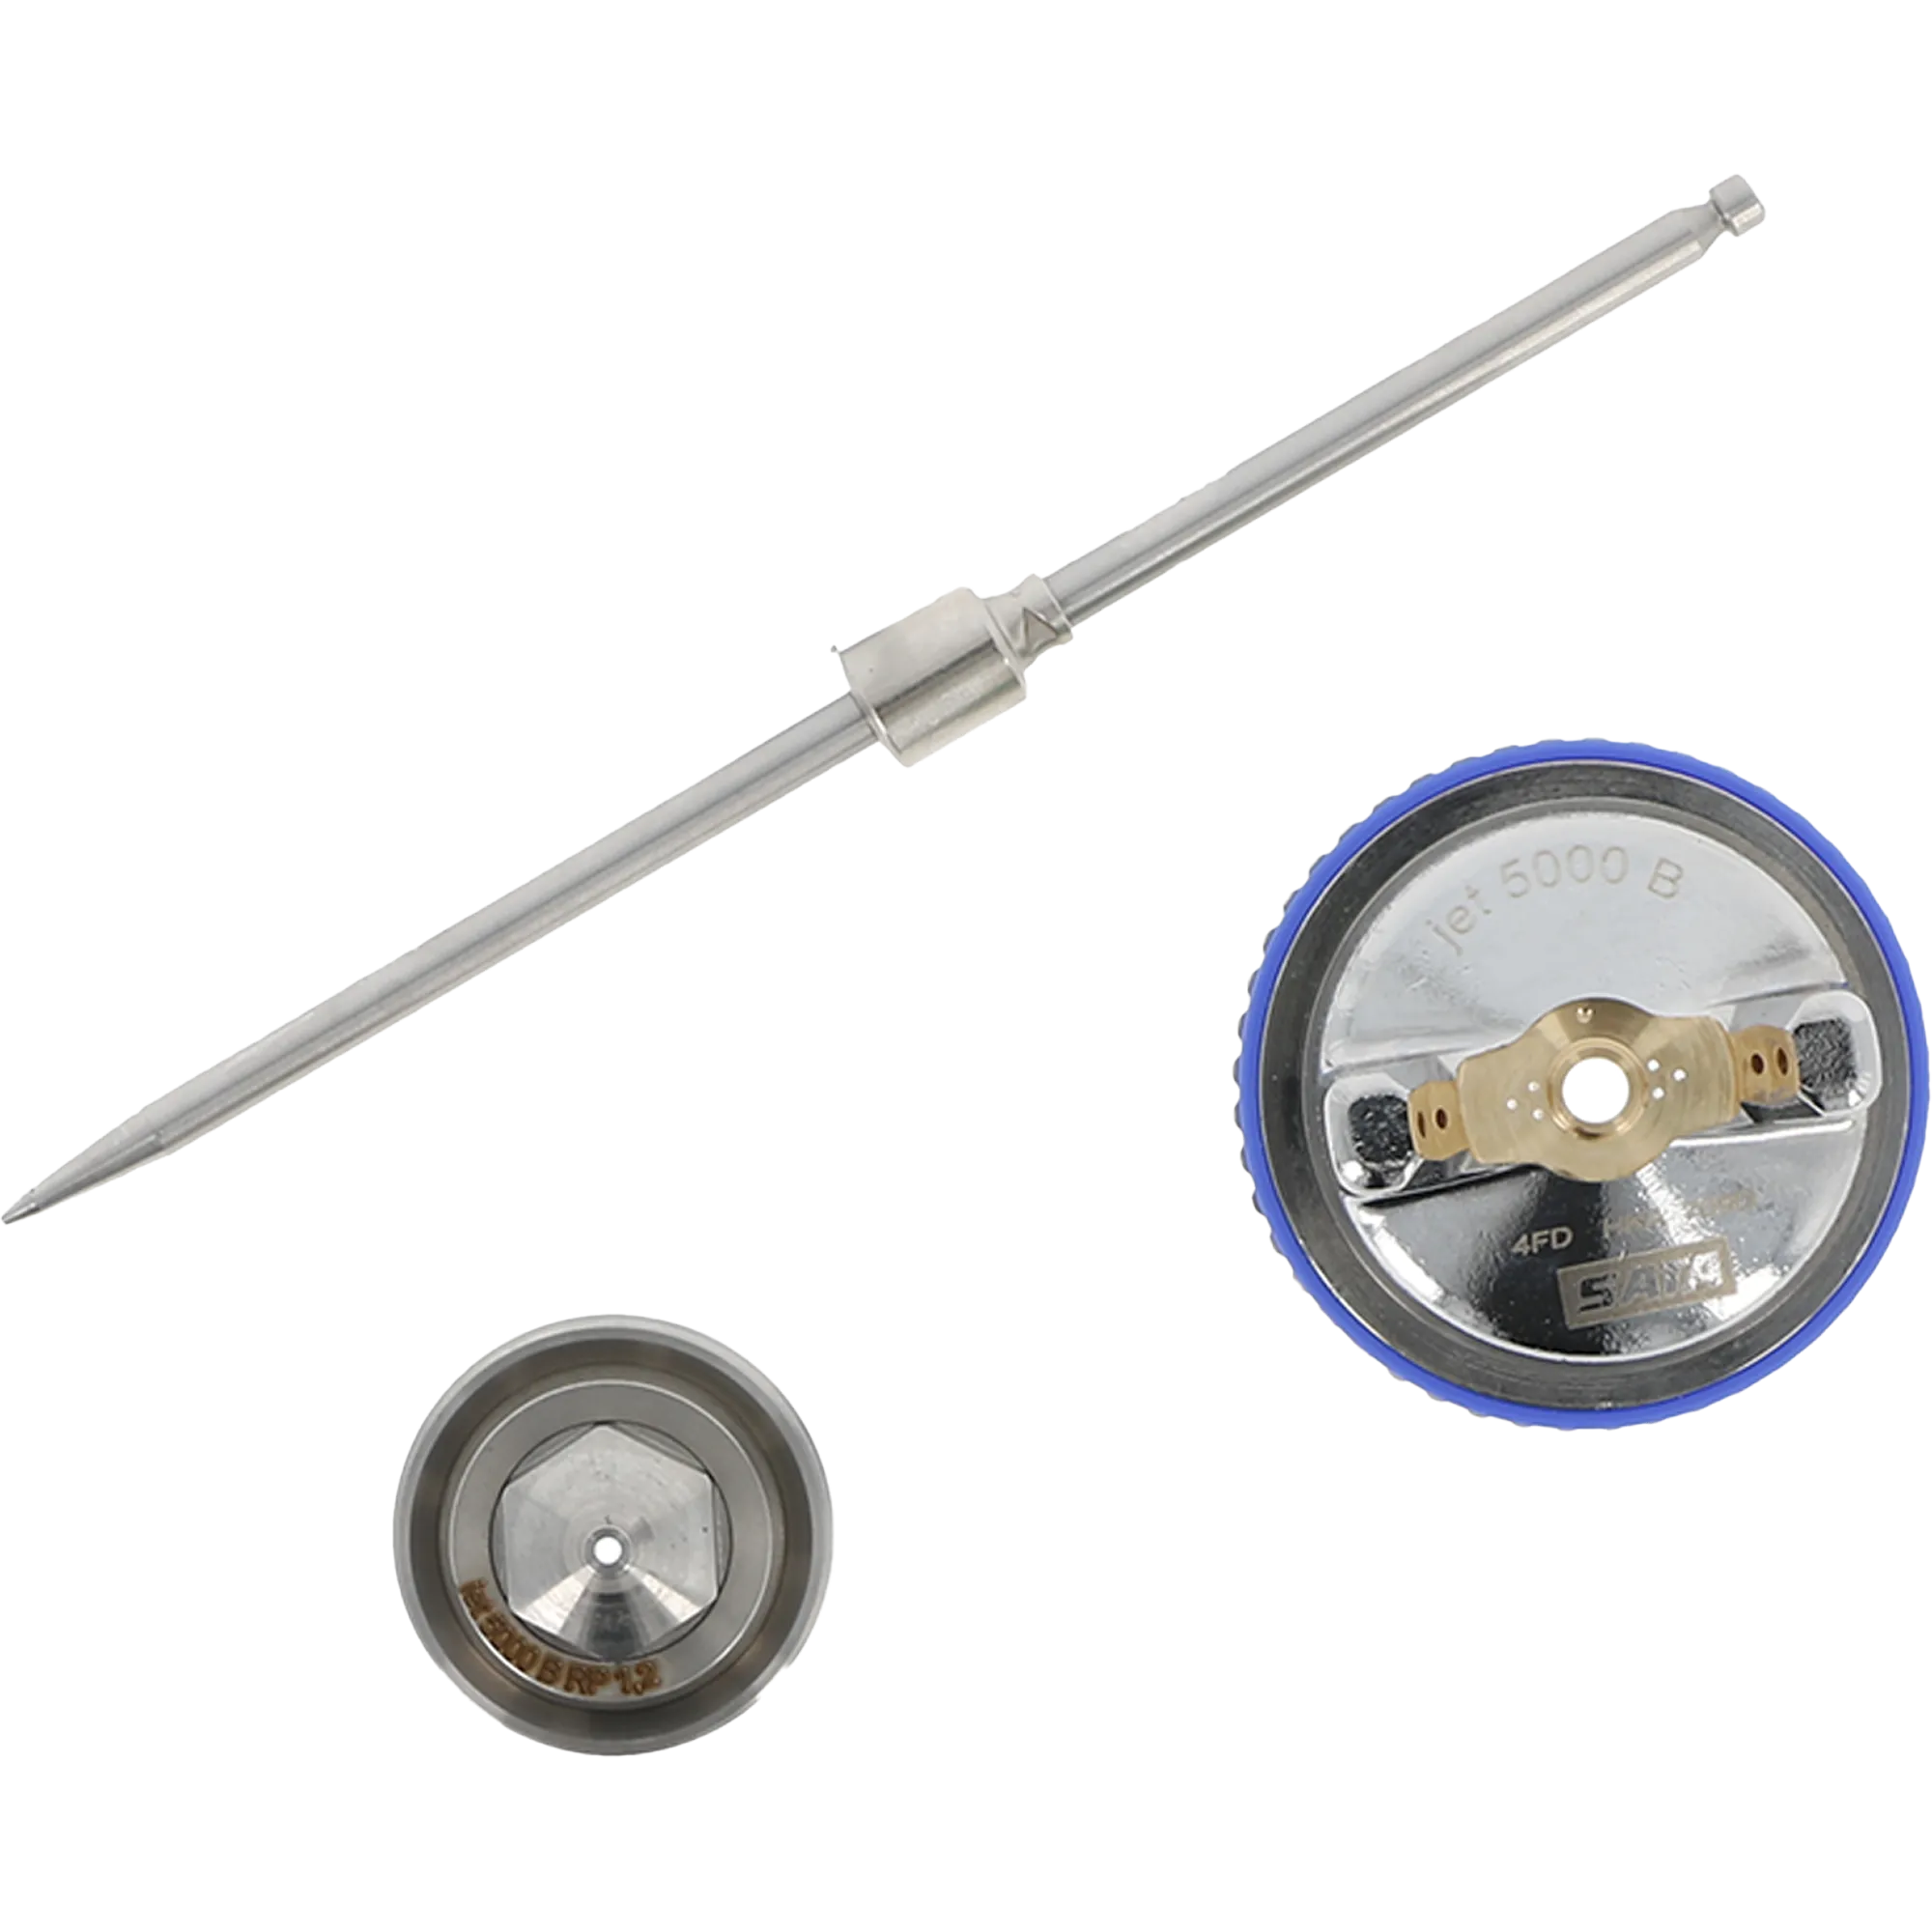
The spray gun nozzle, also called a fluid tip, controls how much paint leaves the gun. Its opening size affects the amount of material, spray pattern, atomization, and finish quality.
A spray gun nozzle size setting is not always a dial or digital control. It usually refers to selecting the correct fluid tip size and then adjusting related settings, such as:
• Fluid flow
• Air pressure
• Fan width
• Needle position
• Material thickness
The nozzle works with the needle inside the gun. When you pull the trigger, the needle moves away from the nozzle. This creates an opening that allows paint to pass through.
Think of the nozzle as a doorway. A small doorway lets through less material. A large doorway lets through more. But the best doorway depends on what you are trying to move through it. Thin stain needs a smaller opening than thick primer.

Why Nozzle Size Matters
The spray gun nozzle size setting affects both the work and the way the gun feels in your hand. It can change transfer efficiency, drying time, surface texture, and the amount of cleaning required.
A proper nozzle size helps the gun break paint into small droplets. This process is called atomization. Good atomization creates a smooth spray pattern with even coverage.
A poor match can cause several problems:
• A nozzle that is too small may cause spitting, dry spray, clogging, and weak material flow.
• A nozzle that is too large may cause heavy coverage, sagging, runs, and excess overspray.
• A thick coating may fail to atomize through a small tip.
• A thin coating may flood the surface through a large tip.
In hands-on paint work, I have found that many “bad gun” problems are really setup problems. People often raise air pressure to fix poor atomization when the real issue is a nozzle that does not suit the coating.
The spray gun nozzle size setting should always be viewed as part of a system. The nozzle, paint, air pressure, spray distance, and gun speed must work together.
The Ultimate HVLP Spray Gun Settings Guide (Pressure, Fluid & Fan)
Common Spray Gun Nozzle Sizes
Most spray guns use nozzle sizes from about 0.8 mm to 2.5 mm. Some industrial guns use smaller or larger openings, but the sizes below cover many automotive, woodworking, home improvement, and craft projects.
0.8 mm to 1.0 mm Nozzles
These small nozzles work well with very thin materials. They are common for detail work and small touch-ups.
Suitable materials may include:
• Dyes
• Thin stains
• Inks
• Touch-up paints
• Small amounts of clear coat
Small nozzles need careful control. Thick paint will often clog the tip or produce a narrow, uneven pattern.
1.2 mm to 1.4 mm Nozzles
This range is useful for thin paint, clear coats, sealers, and some base coats. A 1.3 mm nozzle is a common starting point for automotive base coat and clear coat, but always check the product label.
A 1.2 mm nozzle may give better control for smaller panels or detail work. A 1.4 mm tip can provide a little more material flow for larger surfaces.
1.5 mm to 1.7 mm Nozzles
This is a flexible range for many general-purpose jobs. It may suit:
• Automotive primers
• Enamels
• Lacquers
• Cabinet paints
• General spray paints
A 1.6 mm nozzle is often a practical middle choice for users who want one setup for several materials.
1.8 mm to 2.2 mm Nozzles
Larger nozzles are better for thick materials. They are commonly used for:
• High-build primers
• Latex paint
• Acrylic wall paint
• Heavy sealers
• Some direct-to-metal coatings
These products may need thinning, depending on the gun and the product instructions. Do not thin paint by guesswork. Too much thinner can weaken coverage, change drying behavior, or affect the final sheen.
2.3 mm and Larger Nozzles
Very large nozzles are designed for thick coatings and high material flow. They may be used with textured coatings, heavy primers, and certain industrial products.
They are usually not the best choice for fine furniture, automotive clear coat, or detailed finishing work.
Spray Gun Nozzle Size Chart
The following chart gives a general starting point. Product instructions should take priority because paint formulas vary.
| Nozzle size | Typical materials | Common uses |
|---|---|---|
| 0.8–1.0 mm | Dyes, inks, thin stains | Detail work and small touch-ups |
| 1.2–1.4 mm | Clear coat, thin base coat, sealer | Automotive and fine finishing |
| 1.5–1.7 mm | Enamel, lacquer, primer | General-purpose spraying |
| 1.8–2.2 mm | Latex, high-build primer, thick sealer | Furniture, walls, and larger surfaces |
| 2.3 mm and larger | Heavy coatings and texture products | Industrial or specialty work |
This spray gun nozzle size setting chart is a guide, not a fixed rule. Two products with the same name may have different viscosities. For example, one “acrylic primer” may spray well through a 1.5 mm tip, while another may need a 1.8 mm or 2.0 mm tip.
Temperature also matters. Paint becomes thicker in a cold garage and thinner in warm conditions. Humidity, paint age, and the amount of mixing can also change the result.
Choosing the Right Nozzle for Different Paints
Automotive Paint
Automotive base coats often work with a 1.2 mm to 1.4 mm nozzle. Clear coats commonly use a similar size, although some products work better with a 1.3 mm to 1.4 mm tip.
Automotive primers are often thicker. A 1.6 mm to 2.0 mm nozzle may be more suitable, especially for high-build primer.
Always check the technical data sheet for:
• Recommended fluid tip size
• Spray pressure
• Reduction or thinning ratio
• Flash time
• Number of coats
A common mistake is using the same nozzle for primer, base coat, and clear coat. That may work in an emergency, but separate settings usually produce better control.
Latex and Wall Paint
Latex paint is thicker than most automotive coatings. Many spray guns need a 1.8 mm to 2.5 mm nozzle for latex paint.
Some handheld airless or HVLP systems use different tip numbering systems. Do not compare an airless tip number directly with an HVLP fluid tip diameter.
Latex may also need filtering before spraying. Small lumps can clog the gun, even when the paint appears smooth in the can.
Wood Stain
Thin wood stain usually works with a 1.0 mm to 1.4 mm nozzle. The correct spray gun nozzle size setting depends on whether the stain is oil-based, water-based, gel-like, or heavily pigmented.
A smaller tip gives better control on chair spindles, trim, and small furniture parts. A larger tip can speed up coverage on wide panels.
Clear Coat
Clear coat often needs fine atomization. Many spray guns use a 1.2 mm to 1.4 mm nozzle for this work.
Too much material can create runs and solvent pop. Too little material can create dry spray and a rough finish. Keep the gun moving at a steady speed and overlap each pass by about 50 percent unless the product instructions say otherwise.
Primer and Sealer
Primer is usually thicker than color paint. A 1.6 mm to 2.0 mm nozzle often provides enough flow for smooth coverage.
High-build primer may need a larger tip. If the coating feels hard to spray, do not immediately increase air pressure. Check the nozzle recommendation, material temperature, mixing ratio, and filter first.

How to Set Up a Spray Gun
Correct setup matters as much as nozzle selection. Follow these steps before spraying the actual project.
1. Read the Coating Instructions
Start with the product data sheet or label. Look for the recommended:
• Nozzle or fluid tip size
• Air pressure
• Reduction ratio
• Drying time
• Surface preparation method
The coating maker knows how that formula behaves. Online advice can help, but it should not replace product instructions.
2. Install the Correct Nozzle and Needle
The nozzle and needle are matched parts. If you replace one, make sure it matches the other.
A mismatched needle and nozzle can cause leaking, poor shutoff, and an uneven spray pattern. Tighten parts according to the gun manufacturer’s instructions. Overtightening can damage threads or sealing surfaces.
3. Mix and Filter the Material
Mix the coating until its color and texture are even. Then strain it through a suitable paint filter.
Filtering is one of the simplest ways to prevent clogs. It also removes dried paint skin, dust, and small lumps that can damage the spray pattern.
4. Adjust Air Pressure
Set air pressure at the gun inlet while the trigger is pulled. Static pressure can give a false reading because pressure drops when air begins to flow.
Start at the lower end of the recommended range. Raise pressure only as needed to improve atomization.
Too much pressure can create:
• Overspray
• Dry edges
• Bounce-back
• Faster material loss
• A rough surface
5. Set Fluid Flow
Turn the fluid adjustment knob down before testing. Then open it slowly until the spray pattern carries enough material.
You want a steady, even flow. The gun should not spit, pulse, or flood the center of the pattern.
6. Set the Fan Pattern
Open the fan control to create the pattern you need. A wide fan is useful for panels and walls. A narrow fan works better for edges, trim, and small parts.
Do not use a wide pattern on a tiny object. You will waste paint and may lose control.
7. Test on Scrap Material
Spray on cardboard, masking paper, or a test panel. Watch the pattern closely.
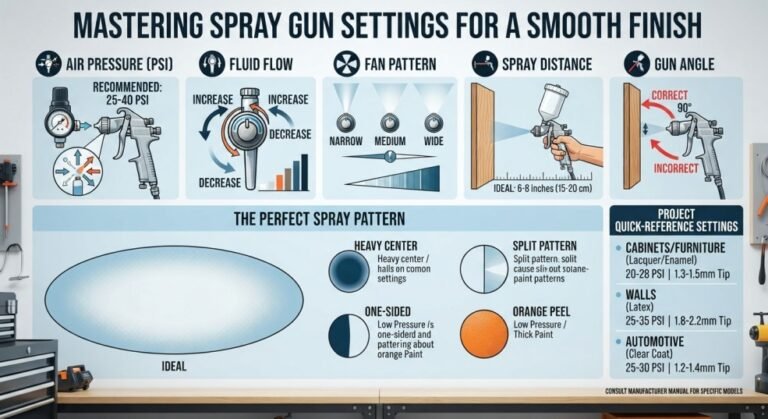
A good pattern looks even from end to end. A heavy center may mean too little air, too much fluid, or a dirty air cap. A split pattern may mean too much air, low fluid flow, or an incorrect distance.
The Hidden 7 Reasons Spray Gun Narrow Spray Pattern (How to Fix It Fast)
How to Adjust Spray Gun Nozzle Size Setting
The spray gun nozzle size setting itself usually requires changing the fluid tip. However, you can fine-tune the result with the gun controls.
Use this order:
- Choose the nozzle recommended for the coating.
- Set the material viscosity according to the product instructions.
- Set air pressure within the recommended range.
- Adjust the fan width.
- Adjust fluid flow.
- Test the spray pattern.
- Make one small change at a time.
Changing several settings at once makes troubleshooting difficult. You may fix one problem while creating another.
A useful test is the quick spray pattern test. Hold the gun at a right angle to the test surface. Pull the trigger for about one second. Inspect the shape and coverage.
The pattern should be oval and balanced. The droplets should blend into a wet, even film without large dry spots or heavy edges.
If the pattern is too dry:
• Check that the nozzle is not too small for the material.
• Confirm that the paint is not too thick.
• Lower the gun distance slightly.
• Check the air pressure.
• Clean the air cap.
If the pattern is too wet:
• Reduce fluid flow.
• Increase gun movement speed.
• Check whether the nozzle is too large.
• Confirm that the gun is not too close.
• Lower the material pressure if your system uses a pressure pot or pump.

Spray Distance, Speed, and Overlap
Even the perfect spray gun nozzle size setting cannot fix poor spraying technique. Hold the gun about 6 to 8 inches from the surface for many HVLP applications, unless the manufacturer gives a different distance.
Keep the gun square to the surface. Do not swing it in an arc. Arcing makes the ends of the pass thin and the center heavy.
Move your arm at a steady speed before pulling the trigger. Release the trigger just before reaching the end of the pass. This reduces heavy buildup at the edges.
Good technique includes:
• Keep the gun parallel to the surface.
• Overlap each pass by about 50 percent.
• Keep the gun moving before and after spraying.
• Maintain a steady distance.
• Use even wrist and arm movement.
• Spray several light coats instead of one heavy coat.
During my early spray work, I learned this the hard way on a cabinet door. I slowed down near the edge because I wanted better coverage. The result was a heavy stripe and a long sanding session. The lesson was simple: steady movement matters more than trying to “paint in” a thin area.
Troubleshooting Common Spray Problems
The Gun Spits or Pulses
Spitting often comes from a loose nozzle, dirty air cap, damaged needle, low material level, or poor paint flow.
Check the following:
• Tighten the fluid nozzle correctly.
• Clean the air cap holes.
• Make sure the cup is sealed.
• Inspect the needle and nozzle for wear.
• Confirm that the material is mixed and filtered.
A nozzle that is too small for thick paint can also cause pulsing. In that case, the spray gun nozzle size setting needs review.
The Spray Pattern Is Heavy in the Center
A heavy center often indicates poor atomization. The air pressure may be too low, the fluid flow may be too high, or the air cap may be dirty.
Start by cleaning the air cap. Then reduce fluid flow slightly or increase air pressure within the safe recommended range.
The Spray Pattern Is Heavy on One Side
A side-heavy pattern usually points to a blocked air hole or damaged air cap. Rotate the air cap and test again. If the heavy side changes position, the air cap may be the problem.
Never use a metal wire that can enlarge the air holes. Use the cleaning tools recommended for your spray gun.
The Finish Is Rough or Dry
A rough finish can result from:
• Excessive spray distance
• Fast gun movement
• Too much air pressure
• Paint that is too thick
• A nozzle that is too small
• Low temperature
• Short flash time between coats
Move closer within the recommended range and check the spray gun nozzle size setting. Avoid solving every dry spray problem by adding thinner. The coating may need a different tip or better environmental control.
The Paint Runs
Runs occur when too much wet material reaches one area. Common causes include slow movement, a large nozzle, excessive fluid flow, low-viscosity paint, or spraying too close.
Reduce fluid flow and use lighter passes. Allow the surface to dry before sanding or recoating. Rubbing a fresh run often makes the damage worse.
The Gun Clogs
Clogs often come from thick material, dried paint, poor filtering, or an incorrect nozzle size. Stop spraying and clean the gun before forcing more pressure through it.
A clean gun is easier to adjust and safer for the coating. Dried material inside the fluid passage can also damage the needle seal.

HVLP, LVLP, and Airless Tip Settings
The spray gun nozzle size setting differs by spray system. This is important because the numbers are not always interchangeable.
HVLP Spray Guns
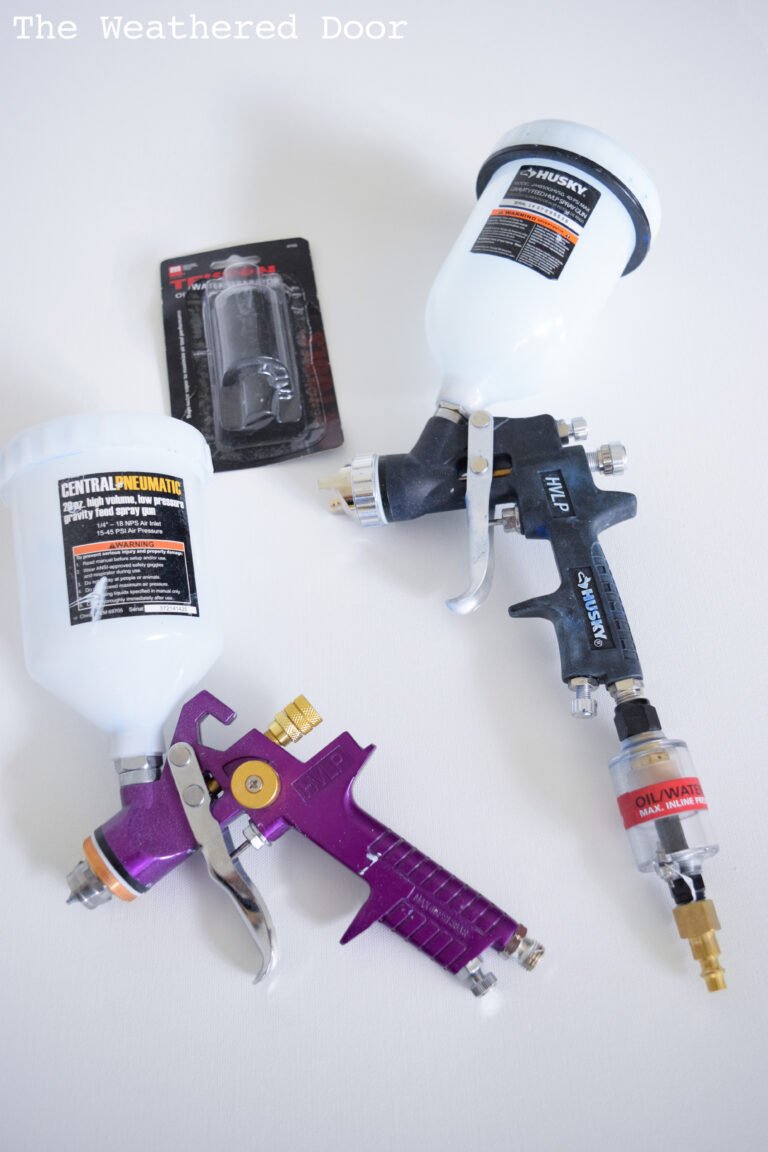
HVLP means high volume, low pressure. These guns use a large volume of air at lower pressure. They can provide good control and reduced overspray, but they may need a larger compressor and careful technique.
Common fluid tip sizes range from about 1.0 mm to 2.5 mm.
LVLP Spray Guns
LVLP means low volume, low pressure. These guns use less air than many HVLP models. They can work well with smaller compressors, although performance depends on the specific gun.
Follow the air consumption and tip recommendations from the manufacturer.
Airless Sprayers
Airless sprayers use fluid pressure rather than compressed air to atomize paint. Their tips are often described with three-digit numbers, such as 515 or tip sizes listed in inches.
The first digit describes the approximate fan width. The last two digits describe the orifice size in thousandths of an inch. For example, a 515 tip commonly indicates a 10-inch fan and a 0.015-inch orifice when sprayed at the usual distance.
Airless tip numbers should not be treated like HVLP nozzle diameters. Use the tip chart for your particular machine and coating.
How Viscosity Affects Nozzle Choice
Viscosity describes how easily a liquid flows. Water has low viscosity. Honey has high viscosity.
A thick coating needs more force and space to move through the gun. A thin coating needs less. That is why material viscosity and nozzle size must be considered together.
You can check viscosity with a viscosity cup when the product instructions provide a target time. Temperature affects the result, so test the material at the same temperature you expect during spraying.
Do not thin paint just because it sprays poorly. First check:
• Whether the paint was mixed well
• Whether the filter is clean
• Whether the air cap is blocked
• Whether the nozzle is too small
• Whether the air pressure is correct
• Whether the product is within its usable life
Thinning may change color, gloss, durability, drying time, and coverage. Use only the reducer or thinner approved for that product.
Cleaning and Maintaining the Nozzle
A clean nozzle gives a better spray pattern and extends gun life. Clean the gun as soon as you finish spraying, before the coating dries.
A basic cleaning process includes:
- Relieve pressure and disconnect the air supply.
- Empty unused material into the correct container.
- Rinse the fluid passage with the approved cleaning solution.
- Remove the air cap, nozzle, and needle as directed.
- Clean each part with a soft brush.
- Dry the parts before reassembly.
- Lubricate approved points with the correct gun lubricant.
Never soak seals or plastic parts in a solvent unless the manufacturer allows it. Strong solvents can swell seals and damage finishes.
Inspect the nozzle opening under good light. Wear, scratches, and dried paint can distort the spray pattern. A worn nozzle may pass too much material even when the spray gun nozzle size setting appears correct.
Safety Tips for Spray Gun Use
Spraying creates airborne particles and vapors. Good ventilation and the correct respirator are essential.
Follow these safety practices:
• Read the product safety data sheet.
• Use a suitable respirator for the coating.
• Wear eye protection and chemical-resistant gloves.
• Keep sparks, flames, and cigarettes away from vapors.
• Use proper ventilation and exhaust.
• Protect nearby surfaces from overspray.
• Store solvents in approved containers.
• Follow local rules for paint and solvent disposal.
Some coatings contain isocyanates or other hazardous chemicals. A basic dust mask is not enough for many solvent-based coatings. If you are unsure about a product’s hazards, stop and review its safety information before spraying.
Safety is part of a professional finish. A smooth panel is not worth risking your lungs, eyes, or skin.
Mistakes to Avoid
Many poor results come from a few repeat mistakes. Avoiding them can save paint, time, and rework.
• Choosing a nozzle based only on the project surface instead of the coating.
• Skipping a test spray.
• Increasing air pressure too much.
• Holding the gun too far away.
• Spraying with a dirty air cap.
• Using old or unfiltered paint.
• Changing several settings at once.
• Applying one thick coat instead of several controlled coats.
• Ignoring temperature and humidity.
• Using the same tip for every product.
One of the most useful habits is writing down your settings. Record the nozzle size, air pressure, reduction ratio, fan width, and the result. This creates a personal reference guide for future projects.
Frequently Asked Questions About Spray Gun Nozzle Size Setting
What nozzle size is best for general spray painting?
A 1.4 mm to 1.7 mm nozzle is a useful general range for many thin paints, enamels, lacquers, and primers. The product label and technical data sheet should always guide the final choice.
What nozzle size should I use for automotive clear coat?
Many automotive clear coats work well with a 1.2 mm to 1.4 mm nozzle. A 1.3 mm tip is a common starting point, but the clear coat manufacturer may recommend a different size.
Can I spray latex paint with a 1.4 mm nozzle?
A 1.4 mm nozzle is usually too small for standard latex paint unless the product is specially formulated and properly reduced. Many latex coatings need a 1.8 mm to 2.5 mm nozzle or a suitable airless tip.
Does a larger nozzle use more paint?
Yes, a larger nozzle can deliver more material in the same amount of time. If the fluid flow is not reduced, it may increase the risk of runs and overspray.
Why does my spray gun spit after changing the nozzle?
Spitting may result from a loose nozzle, mismatched needle and nozzle, dirty air cap, thick paint, low material level, or a blocked fluid passage. Clean the gun and confirm that all replacement parts match.
Should I increase air pressure when the paint will not spray?
Not always. First check the paint thickness, filter, nozzle size, fluid setting, and air supply. Too much pressure can create dry spray and overspray instead of solving the main problem.
How far should I hold the spray gun from the surface?
Many HVLP and LVLP guns work well at about 6 to 8 inches from the surface. The correct distance varies by gun, nozzle, coating, and spray pressure, so use the manufacturer’s guidance and a test panel.
Conclusion
The spray gun nozzle size setting controls more than paint flow. It affects atomization, coverage, overspray, texture, and the final look of the surface. Start with the coating maker’s recommended tip, then fine-tune air pressure, fluid flow, fan width, spray distance, and gun speed.
Use a test panel before the real job. Keep the gun clean. Change one setting at a time. With these habits, you can avoid most common spray problems and achieve a smoother, more even finish.
Try the setup on scrap material before your next project, and share your results or questions in the comments.