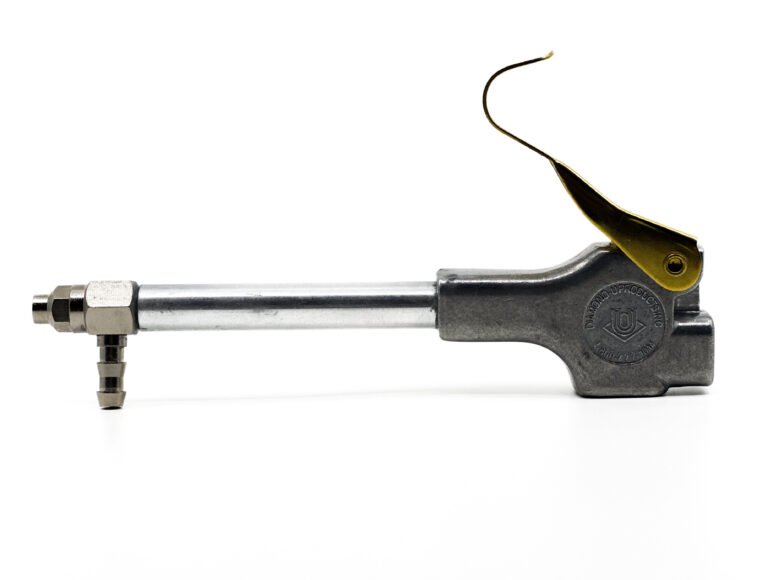
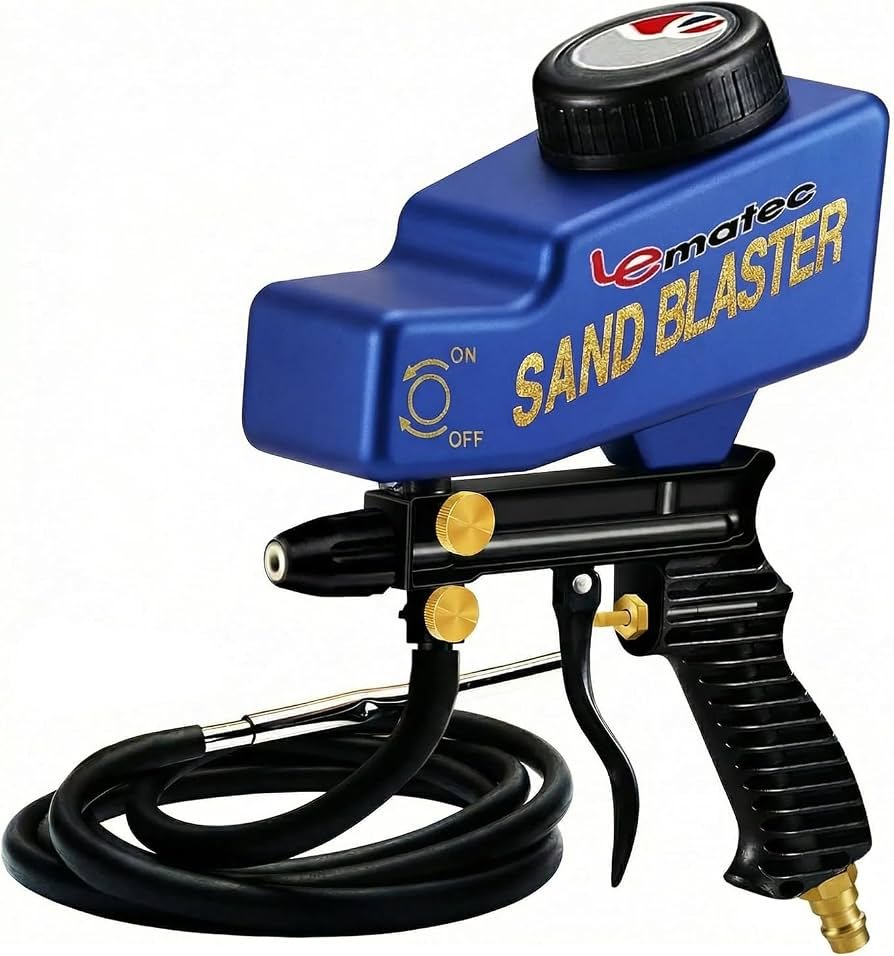
Why Is Your Siphon Feed Spray Gun Sputtering? (Causes and Quick Fixes)
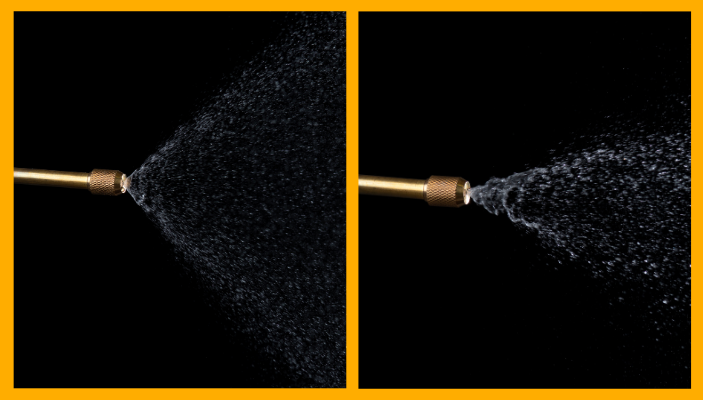
A siphon feed spray gun sputtering happens when air, fluid flow, or paint viscosity becomes uneven. A sputtering spray gun can turn a smooth finish into a rough, speckled mess in seconds.
The good news is that the fault is usually simple: a blocked nozzle, loose fluid tube, poor paint mix, low material level, or unstable air pressure. This guide explains how to find the cause, fix it safely, and prevent it from returning.
What Sputtering Means in a Siphon Feed Spray Gun
A siphon feed spray gun uses compressed air to pull paint from a cup below the gun. The air passes through the nozzle and creates a low-pressure area that draws the coating upward through the fluid tube.
When this air and fluid balance is disturbed, the gun may spray in short bursts instead of a steady mist. You may notice:
• Uneven spray from the air cap
• Large paint drops or “spitting”
• A pulsing sound
• Paint bubbles in the cup
• Heavy and light areas across the workpiece
• A rough, orange-peel, or blotchy finish
Siphon feed spray gun sputtering is not a normal part of operation. It means the gun cannot maintain a steady mix of air and coating.
Think of the spray gun like a drinking straw. If the straw has a crack, a blockage, or too much liquid resistance, the flow becomes weak and uneven. The same basic problem can happen inside the gun.
The Most Common Causes of Siphon Feed Spray Gun Sputtering
Several faults can create the same symptom. Start with the simple checks before replacing expensive parts.
1. The paint is too thick
Thick paint resists the suction created by the spray gun. This is one of the most common reasons for sputtering, especially with primer, latex paint, textured coatings, and cold material.
Always thin the product according to its technical data sheet. Do not guess with large amounts of solvent. Too much thinner can cause runs, poor coverage, slow drying, or weak film strength.
A simple check is to strain a small amount of mixed paint into a clean cup. If it flows slowly or leaves thick trails, the coating may need adjustment.
2. The fluid tube is loose or damaged
The fluid tube connects the cup to the spray gun body. If it is loose, cracked, or missing its seal, the gun can draw air instead of paint.
Inspect the tube for:
• Cracks near the ends
• A loose connection
• A damaged cup gasket
• A blocked opening
• A bent or poorly seated tube
Even a small air leak can cause siphon feed spray gun sputtering. Replace damaged seals rather than covering them with tape or sealant.
3. The cup is nearly empty
A siphon gun needs enough paint to keep the tube submerged. When the cup is almost empty, the tube may pull air with the paint. This causes pulsing and sudden drops in fluid flow.
Keep enough material in the cup to cover the end of the tube. Avoid filling the cup to the top because this can increase spills and make cleaning harder.
4. The nozzle or fluid tip is partly blocked
Dried paint, dust, skin, or thick pigment can restrict the fluid tip. A partial blockage often causes sputtering rather than a complete loss of spray.
Remove the air cap and inspect the fluid tip. Use the cleaning tools supplied by the manufacturer. Never force a hard steel wire through a small precision opening unless the manual specifically allows it. A damaged tip may spray unevenly even after it looks clean.
5. The air cap is dirty
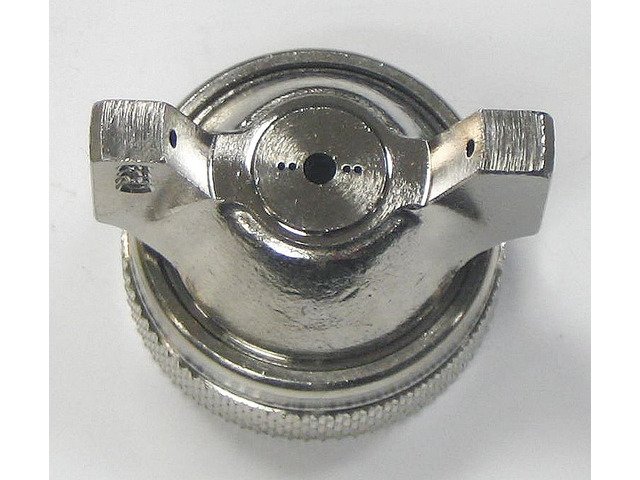
The air cap shapes the spray pattern. If one or more air holes are blocked, the pattern can become uneven and the coating may spit.
Soak removable parts in a compatible cleaning solution. Do not soak the entire spray gun unless the manufacturer permits it. Solvent can damage seals, trigger packing, or internal lubricants.
6. Air pressure is too low or unstable
Low pressure may not create enough suction to move the coating. Pressure that rises and falls can also cause an inconsistent spray.
Check pressure at the gun while you pull the trigger, not only at the compressor tank. Pressure can drop through long hoses, small fittings, filters, or restrictive regulators.
Use the pressure range listed by the spray gun manufacturer. More pressure is not always better. Excess pressure can create overspray, waste paint, and a dry finish.
7. The air hose or fittings restrict flow
A small hose, clogged filter, loose quick-connect fitting, or leaking regulator can reduce air volume. The gauge may show a normal reading while the gun still lacks enough air during spraying.
Look for:
• Hissing around fittings
• A kinked hose
• Water in the airline
• A clogged air filter
• A compressor that cannot keep up
• Fittings with a smaller inside opening than the hose
Siphon feed spray gun sputtering often becomes worse when the trigger is held open because the system cannot supply enough air.
Spray Gun Troubleshooting: Quick Fixes for Spits, Sputters, and Uneven Sprays
How to Fix a Sputtering Siphon Feed Spray Gun
Use a step-by-step process. Random adjustments can hide the real problem and make the repair harder.
Step 1: Stop spraying and remove pressure
Release the trigger, turn off the compressor, and bleed pressure from the line. Follow the safety instructions for your coating and spray gun.
Wear suitable eye protection, gloves, and respiratory protection. Spray coatings can contain solvents, fine particles, or other harmful substances. Work in a well-ventilated area with proper exhaust.
Step 2: Check the material level
Make sure the fluid tube is covered by paint. If the cup is low, add properly mixed material or clean the cup before refilling.
Do not keep spraying with an almost empty cup. That often introduces air and makes the sputtering worse.
Step 3: Inspect the fluid tube and cup seal
Remove the cup and inspect the tube connection. Tighten it gently if it is loose. Check the gasket for flattening, cuts, or hard spots.
A seal should sit flat. If it twists or sticks out, air may enter the fluid path.
Step 4: Strain and mix the coating
Mix the paint well, then strain it through a filter made for the coating. Straining removes lumps and dried particles that can block the fluid tip.
Adjust viscosity only as directed by the coating maker. Temperature matters too. Paint often becomes thicker in a cold shop, so allow it to reach the recommended application temperature when possible.
Step 5: Clean the air cap and fluid tip
Remove the air cap and fluid tip using the correct tools. Clean all openings with compatible solvent and a soft brush.
Look closely at the tiny holes. Even a small amount of dried material can change the spray pattern. Dry the parts before reassembly.
Step 6: Check air pressure at the gun
Connect the regulator near the spray gun if possible. Pull the trigger fully and watch the pressure while air flows.
If pressure falls sharply, inspect the hose, fittings, regulator, filter, and compressor. A static pressure reading can be misleading because the system may lose pressure only under load.
Step 7: Test with clean solvent or water
Use a compatible cleaning liquid for a brief test. Water-based products may allow a water test, but solvent-based materials require an appropriate solvent.
If the gun sprays smoothly with the test liquid, the problem is likely paint viscosity, contamination, or material preparation. If it still sputters, inspect the gun and air supply again.
Diagnosing Sputtering by the Symptom
The spray pattern often tells you where to look first.
Sputtering starts after a few seconds
This may point to:
• A blocked vent in the cup lid
• A loose fluid tube
• A low material level
• A cup gasket leak
• A restricted fluid passage
A blocked cup vent is easy to miss. As paint leaves the cup, air must enter to replace it. Without that air, a vacuum forms and fluid flow slows or stops.
Paint bubbles back into the cup
Bubbles in the cup often indicate a problem around the fluid tip or air cap. Air may be traveling backward through the fluid passage.
Possible causes include:
• A loose fluid tip
• Dirt on the tip seat
• A damaged tip
• A blocked air cap
• Incorrect assembly
Clean the parts and tighten them according to the manufacturer’s instructions. Do not overtighten small parts because this can damage threads or seating surfaces.
The spray is heavy in the center
A blocked air cap hole can create a narrow, wet pattern. The fluid tip may also be dirty or damaged.
Clean the air cap and test again. If the pattern remains poor, the fluid tip or needle may be worn.
The spray is dry and rough
This problem may look like sputtering, but it can result from too much air, thin paint, excessive spray distance, or fast hand movement.
Hold the gun at a steady distance, usually based on the manufacturer’s recommendation. Keep it square to the surface and move at a consistent speed.
The gun spits when the trigger is released
This may result from improper trigger timing. On many conventional spray guns, air should begin before fluid and stop after fluid. A damaged needle, worn fluid tip, or incorrect adjustment can upset this sequence.
Inspect the needle and tip for wear. Replace them as a matched set when the manufacturer recommends doing so.
Correct Spray Gun Setup
Correct setup prevents many cases of siphon feed spray gun sputtering.
Prepare the paint
Read the coating label and technical data sheet. Check the recommended thinner, mixing ratio, viscosity, temperature, and pot life.
Use a clean mixing cup and stir from the bottom. Pigment often settles there. Strain the final mixture before placing it in the spray cup.
Set the air supply
Use a clean, dry air supply. Water and oil from the compressor can contaminate the coating and affect the spray pattern.
A suitable setup may include:
• An air compressor with enough delivery
• A water separator
• An airline filter
• A regulator
• A hose with the correct inside diameter
• Leak-free fittings
The exact pressure depends on the gun, tip size, and coating. Follow the gun manual instead of copying a pressure setting from another model.
Adjust the fluid control
Open the fluid control gradually. Too little fluid can create a dry mist. Too much fluid can overload the air stream and cause runs or spitting.
Begin with a test pattern on cardboard or scrap material. Adjust one control at a time so you know which change improved the result.
Hold the gun correctly
Keep the spray gun perpendicular to the surface. Do not swing it in an arc. Start moving before pulling the trigger, and release the trigger before stopping the stroke.
Overlap each pass evenly. A consistent technique helps separate equipment problems from application problems.
Mistakes That Make Sputtering Worse
Many users make the same errors when trying to solve spray gun sputtering.
• Increasing air pressure without checking the fluid path
• Adding large amounts of thinner without reading the product instructions
• Using a nail or hard wire to clean precision openings
• Leaving paint in the gun between coats
• Spraying with a nearly empty cup
• Ignoring a blocked cup vent
• Using a compressor that cannot maintain airflow
• Tightening parts so hard that threads or seals become damaged
• Mixing old paint with fresh paint without straining it
• Testing on the final surface before correcting the spray pattern
One practical lesson is especially useful: change one variable at a time. If you thin the paint, increase pressure, replace the tip, and change the hose together, you will not know which action solved the fault.
A controlled test saves material and prevents frustration.
Cleaning and Maintenance Tips
Good maintenance is the best long-term cure for siphon feed spray gun sputtering.
Clean the gun as soon as possible after use. Dried coating becomes much harder to remove and may damage the fluid tip or needle.
Use this basic routine:
- Empty unused paint into an approved container.
- Wipe the cup clean with the correct solvent.
- Add a small amount of cleaning liquid.
- Spray the cleaner into a proper waste container.
- Remove and clean the air cap.
- Clean the fluid tip and needle.
- Wipe the gun body without flooding internal areas.
- Dry the parts and reassemble them carefully.
- Store the gun in a clean, dry place.
Do not leave the needle pressed against the fluid tip during long storage if the manufacturer advises otherwise. Some guns also need special lubricant on the trigger or needle packing. Use only products approved for spray equipment.
Inspect consumable parts often. A worn needle, tip, spring, or seal can create poor spray quality even when the gun appears clean.
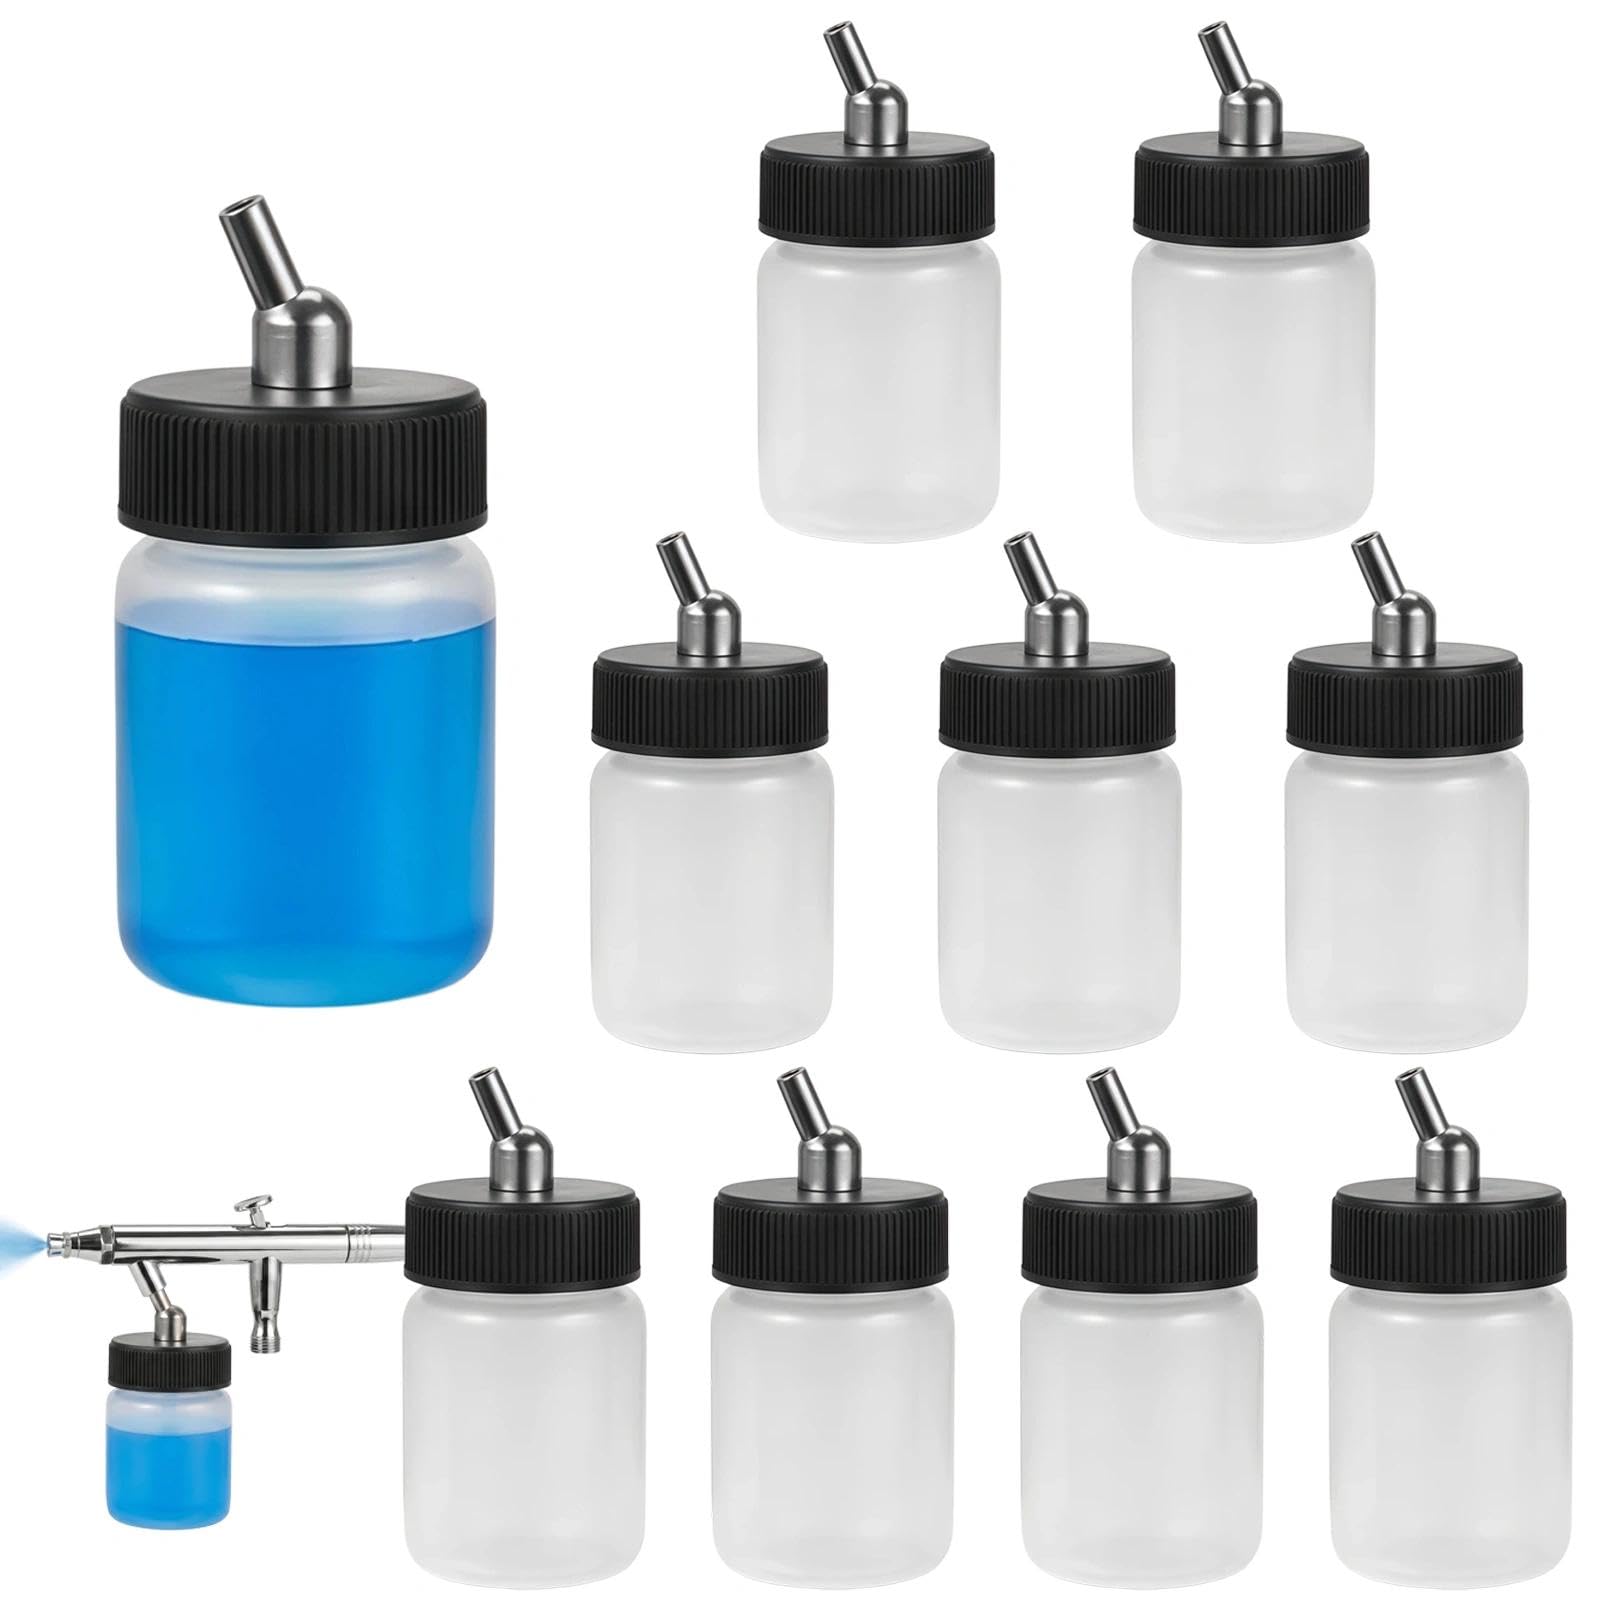
When to Replace Parts or the Spray Gun
Cleaning will not repair every problem. Replacement may be needed when parts are worn, bent, cracked, or permanently damaged.
Replace the fluid tip and needle when:
• The needle is bent
• The tip opening is damaged
• Paint leaks when the trigger is released
• The spray pattern stays uneven after cleaning
• The parts show heavy wear
• The gun spits with clean test liquid and correct pressure
Replace seals when they are swollen, cracked, hard, or leaking. Solvent exposure can change the size and flexibility of some seals.
The gun body may need professional service if threads are damaged, internal passages are corroded, or the trigger packing leaks. A low-cost replacement gun may be more practical for light work, but professional painters may benefit from rebuilding a quality gun.
Safety Practices for Siphon Feed Spray Guns
A spray gun turns liquid into a fine mist. That mist can travel through the air and enter the lungs, eyes, or nearby ignition sources.
Follow these safety practices:
• Read the coating safety data sheet
• Wear suitable respiratory protection
• Use eye protection and chemical-resistant gloves
• Provide strong ventilation and exhaust
• Keep sparks, flames, and smoking materials away from flammable coatings
• Ground equipment when required for the coating and work area
• Store solvents in approved containers
• Never spray toward people or animals
• Keep the compressor and electrical equipment suitable for the environment
• Dispose of paint waste according to local rules
Respirators must match the hazard. A basic dust mask does not protect against solvent vapor. If you are unsure, ask a qualified safety professional or industrial hygiene expert.
A Simple Troubleshooting Checklist
Use this checklist when a siphon feed spray gun sputters:
• Is the cup at least partly full?
• Is the cup vent open?
• Is the fluid tube tight and undamaged?
• Is the cup gasket sealing correctly?
• Is the paint mixed and strained?
• Is the paint too thick or too cold?
• Is the air cap clean?
• Is the fluid tip clean and undamaged?
• Does air pressure remain stable while spraying?
• Are the hose and fittings large enough?
• Is water or oil entering the airline?
• Does the gun sputter with clean test liquid?
• Are the needle and tip worn?
Work through the list from top to bottom. Most problems can be found without fully disassembling the spray gun.
Frequently Asked Questions About Siphon Feed Spray Gun Sputtering
Why is my siphon feed spray gun sputtering?
The most common causes are thick paint, a blocked nozzle, a loose fluid tube, low cup level, poor air pressure, or a blocked cup vent. Check the fluid path and air supply before replacing parts.
Can low air pressure cause a siphon feed spray gun to sputter?
Yes. Low or unstable pressure may not create enough suction to move the coating evenly. Check pressure while pulling the trigger because pressure at rest may look normal.
Why are bubbles appearing in my spray gun cup?
Bubbles can indicate air entering the fluid path or flowing backward through the fluid tip. Clean and reseat the air cap and fluid tip, then inspect the cup seal and fluid tube.
Should I thin paint to stop siphon feed spray gun sputtering?
Only thin the coating according to its technical data sheet. Too much thinner may stop sputtering but can cause runs, weak coverage, poor drying, or loss of durability.
How often should I clean a siphon feed spray gun?
Clean the gun after every use and between coatings that could harden or react with each other. Fast cleaning prevents dried paint from blocking the fluid tip and air cap.
Can a bad compressor cause spray gun sputtering?
Yes. A small or poorly maintained compressor may lose airflow when the trigger is open. Check the compressor’s air delivery, hose size, fittings, regulator, and moisture filter.
Conclusion
Siphon feed spray gun sputtering usually comes from an uneven balance between air and fluid. Start with the basics: check the paint level, cup vent, fluid tube, paint viscosity, air cap, nozzle, and working air pressure.
Clean the gun after each use, strain the coating, and test changes on scrap material before spraying the final surface. With a careful setup and a methodical diagnosis, you can restore a steady spray and achieve a much smoother finish. Share your own troubleshooting results or explore more spray equipment guides to improve your next project.